
Irresistible Caramel Crush Bars Recipe for Easy Homemade Dessert
Irresistible Caramel Crush Bars Recipe for Easy Homemade Dessert
While we have provided a jump to recipe button, please note that if you scroll straight to the recipe card, you may miss helpful details about ingredients, step-by-step tips, answers to common questions and a lot more informations that can help your recipe turn out even better.
Wednesday afternoons at our house are the softest kind of chaos. Someone is finishing homework at the kitchen table, someone is asking if they can have “just one more snack,” and I am usually staring at the pantry trying to remember why I walked in there in the first place.
One week, with a school bake sale suddenly moved up a day, I grabbed the usual suspects, butter and oats and a bag of brown sugar, and decided that whatever came out of the oven just needed to be sweet, sturdy, and able to survive a car ride on the passenger seat. These Caramel Crush Bars were born in that scramble, when “good enough” somehow turned into “please write that down exactly so we can have it again.”
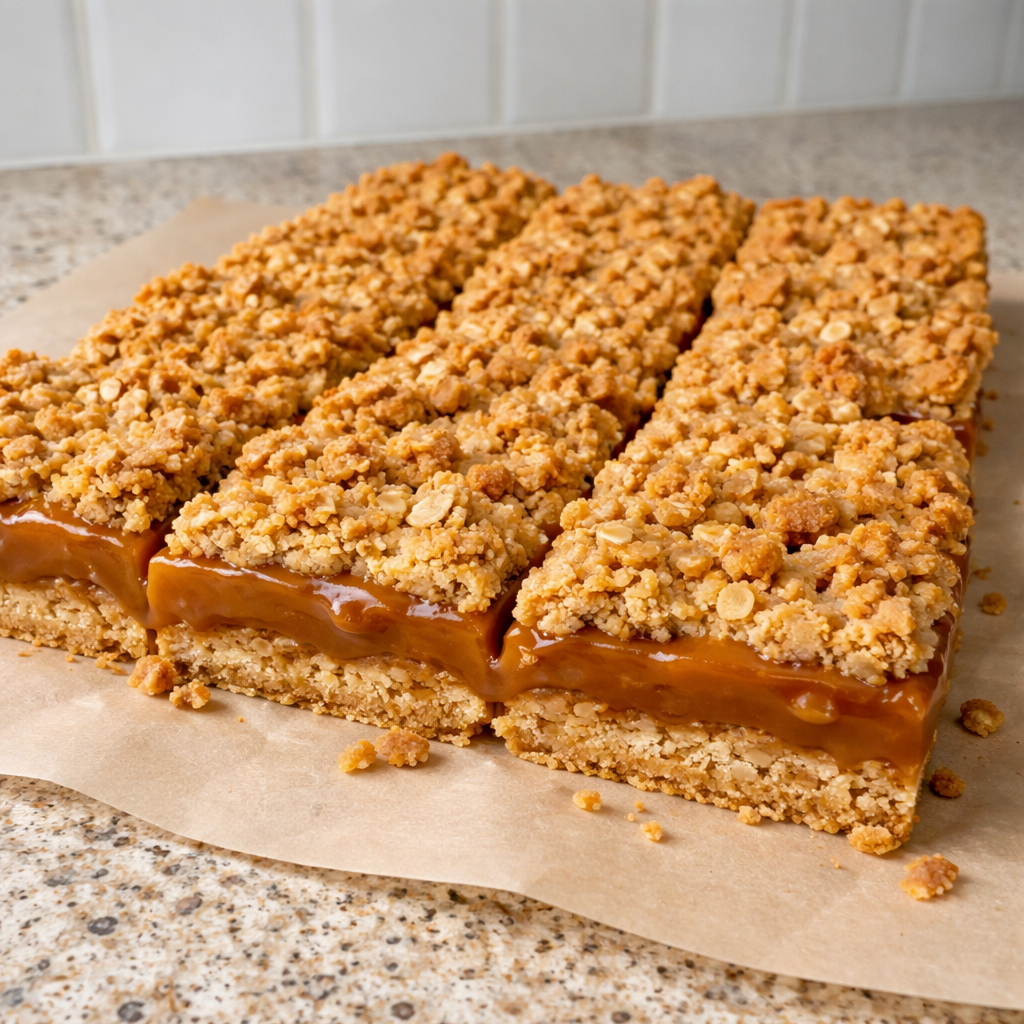
They are the kind of dessert that looks like you fussed, but you really did not. A buttery oat crust, a soft layer of caramel that sets just enough to slice, and a crumbly top that hides any imperfections in the middle. It is the sort of bar you can cut small for a crowd or eat in big generous squares after a long day.
And just as important, the recipe forgives you if you are distracted, or if your brown sugar is a little lumpy, or if you have to stop in the middle to referee who gets the green cup.
These bars do not mind. They really do not.
Why These Caramel Crush Bars Deserve a Spot in Your Binder
There are a lot of bar cookies in the world. What makes these worth printing and tucking into that overstuffed recipe folder is how dependable they are.
The crust and topping are the same mixture, pressed in two layers, which keeps the ingredient list short. The caramel is built on brown sugar, so no hunting down specialty candies or worrying about a candy thermometer. You just simmer until it looks glossy and a bit thickened.
They also pack and travel well. You can make a pan at night, let them cool on the counter while you clean up, then chill them and slice them in the morning. They ride along to potlucks, school events, and quiet coffee visits with equal ease.
And if life shifts on you, this recipe shifts too. Different pan size, slightly darker edges, a little extra chill time because bedtime ran late, it all still works. That is the kind of dessert a busy week needs.
What These Bars Taste Like (So You Can Picture Them)
The oat layers bake up like a cross between a cookie and a crumb crust, buttery and just lightly chewy toward the center. The top gets a little more golden and crisp, which makes that first bite give way nicely.
The caramel in the middle is soft and rich but not runny. Once it cools, it holds its shape when sliced, yet still feels a little gooey on your fingers if you are not using a plate. It has that deep brown sugar flavor that reminds me of the edges of a pan of blondies, with a quiet vanilla warmth throughout.
When you bite through all three layers at once, you get a mix of textures, crumbly, tender, and silky. It tastes like something you might find on a long potluck table beside seven kinds of brownies, the thing people point to and say, “Oh, who made those?”
Ingredients for Indulgent Caramel Crush Bars
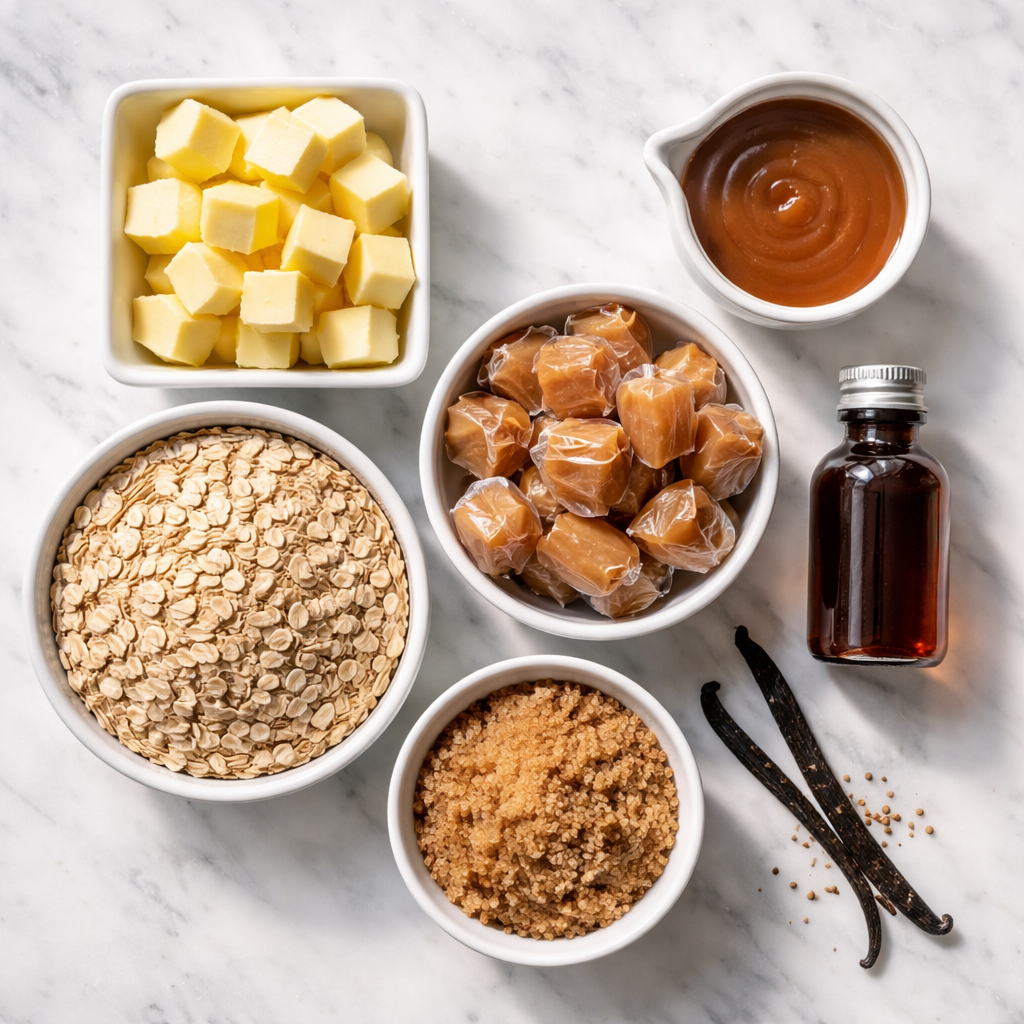
- 1.25 cups butter (melted)
- 1.5 cups quick oats
- 2.25 cups all-purpose flour
- 1.5 cups brown sugar
- 0.25 cups butter (melted)
- 1 cup brown sugar
- 0.25 cups milk
- 2 teaspoons vanilla extract
- 2 tablespoons flour
Step-by-Step: From Pantry to Pan
-
- Preheat your oven and line your pan. While the oven warms, mix melted butter, quick oats, flour (2.25 cups), and 1.5 cups brown sugar until sandy. Press half into the pan for the crust.
-
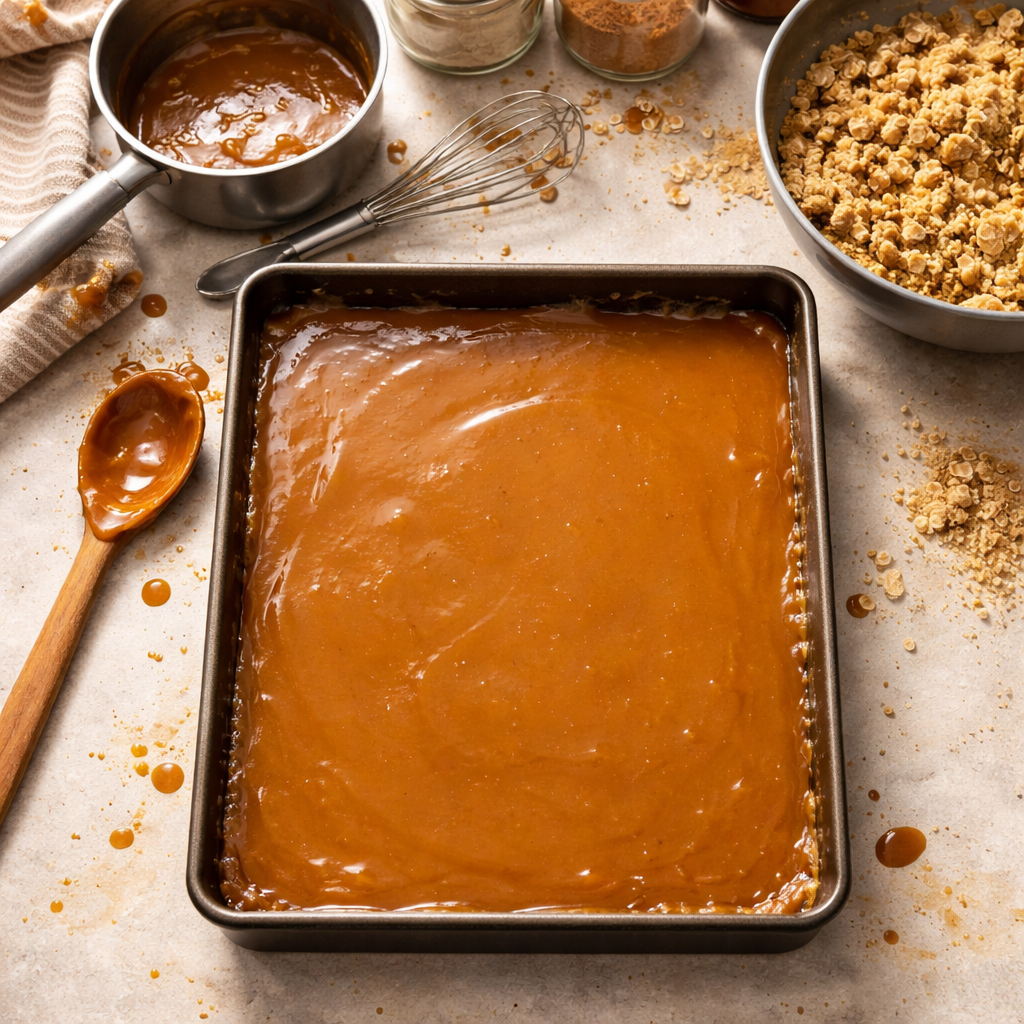
- For the caramel: Melt 0.25 cups butter with 1 cup brown sugar, stir in 0.25 cups milk and 2 teaspoons vanilla, and simmer until glossy. Avoid walking away from the caramel.
-
- Pour caramel over the crust; sprinkle the remaining oat mixture on top and gently press.
-
- Bake until the edges are golden. Let cool before slicing with a warm knife for cleaner cuts.
Pan Size, Texture Clues, and Other Quiet Details
I like using a 9 by 13 inch metal baking pan, lined with parchment that hangs over the sides for easy lifting. If all you have is glass, that is fine too, just watch the edges near the end. They can brown a touch faster.
As you mix the oat layer, it should look like slightly damp, sandy crumbs that hold together when you squeeze them in your hand. If it seems too dry and floury, drizzle in another tablespoon or two of melted butter or a spoonful of milk until it just starts to clump.
When you cook the caramel, keep the heat on medium and stir gently but regularly. You are looking for it to go from grainy and matte to smooth and a bit shiny. Small bubbles will rise and it will thicken slightly. It should pour, but not like water, more like warm maple syrup that hesitates as it leaves the spoon.
In the oven, the top will look dry and set, with edges that have turned a rich golden brown. The center might still look a little soft underneath, that is what you want. Remember, it will firm up as it cools.
And if you accidentally let it go a few minutes too long and the edges are darker than you planned, do not panic. Those edges are often the first pieces people sneak when they think no one is looking.
Make-Ahead, Storage, and Packing for Later
One of the reasons these bars live in my “company is coming” list is that they are easy to make ahead.
You can bake them a day, even two days, before you need them. Let them cool completely, cover the pan tightly, and store at room temperature. If your kitchen runs warm, you can refrigerate them. The chill will firm the caramel and help them slice very cleanly.
For slicing, I like to lift the whole slab out onto a cutting board using the parchment. Run a thin knife under hot water, dry it, then cut in straight, confident motions. Wipe the knife every few cuts if the caramel sticks. Small squares go a long way at gatherings.
Leftovers keep well for 4 to 5 days. They stack nicely in a container with a piece of parchment between layers. For lunchboxes, cut them on the smaller side, they are rich, and wrap in wax paper so the caramel layer does not cling to plastic.
You can also freeze them. Freeze sliced bars on a tray until firm, then tuck them into a bag or container. They thaw in about 20 minutes on the counter, handy for unexpected visitors or one of those evenings when you want something sweet with tea and no dishes.
Substitutions When the Pantry Has Opinions
These bars are pretty forgiving. If you are missing something, there is often a way through.
-
Oats: Quick oats give a more uniform crumb, but rolled oats work in a pinch. If using rolled, you can pulse them a few times in a blender or food processor to break them down slightly, or leave them as is for a heartier texture.
-
Brown sugar: Light brown sugar is my default. Dark brown sugar adds a deeper molasses note that is lovely too. You can even mix the two if that is what you have.
-
Flour: All-purpose flour is standard here. If you only have self-rising, you can use it but reduce the amount slightly and expect a slightly puffier top. Gluten-free all-purpose blends can work, though the bars will be a little more crumbly. Lining the pan well becomes extra important then.
-
Milk: Any regular dairy milk does fine. I have used 2 percent and whole. If you need to avoid dairy, a richer plant milk like oat or soy can stand in. The flavor will shift a little, but the caramel still thickens and the bars still disappear.
If you find yourself short on butter by a tablespoon or two, you can quietly top up with a neutral oil. No one has complained yet.
Caramel Crush Bars FAQ
Yes. Double everything and bake in two 9 by 13 pans, or in one large rimmed baking sheet if your oven heats evenly. Watch the baking time, a larger pan can be done a bit faster around the edges.
You do not have to, but it makes lifting and slicing much easier. If you skip it, grease the pan very well and expect to cut and serve directly from the pan with a small spatula.
Usually that means the sugar crystallized, often from cooking on too high heat or stirring too aggressively once it is boiling. The good news is, in this recipe a slightly grainy caramel still tastes wonderful between the oat layers. Most people will not notice.
Let them cool completely, or even chill them. Use a sharp knife warmed under hot water, and cut straight down instead of sawing. Smaller, firm cuts help the layers stay together.
Absolutely. Sprinkle a handful of chocolate chips or chopped toasted nuts over the caramel before adding the top oat layer. Just keep the total add-ins to about 1 cup so the bars still hold together well.
Serving Moments, Big and Small
These bars are rich, so I often cut them into one inch squares for gatherings. On a paper plate next to a pot of coffee, they are just right. At home, after a long day, no one complains if the squares drift toward “generous rectangle” territory.
They do well at room temperature on a dessert table, the caramel holds up without puddling. I have watched them get nudged into the center of the potluck spread as other plates empty, the quiet promotion that happens when people realize where the good stuff is.
At our house, there is always at least one bar that loses a corner when someone “checks if they are ready,” which is its own kind of compliment. Imperfect edges, uneven squares, a few crumbs on the cutting board, it all just means the recipe is being lived with, not fussed over.
Passing the Recipe Along
If I were writing this for you on an index card, I would probably underline “cool before cutting” and add a note in the margin: “Works every time, even on crazy days.”
That is really the heart of it. A short list of pantry ingredients, a simple caramel you make in one pot, layers that hide any missteps, and a finished dessert that feels special without asking too much from you.
Make them for a bake sale, or for a quiet Sunday afternoon, or for the friend who just had a hard week and needs something sweet wrapped in foil and left on the porch. Tuck the recipe into your own stack. Smudges and sugar stains welcome.
Recipes like this are meant to travel, from one kitchen to another, getting slightly adapted in every home and still turning out good enough to share.
Caramel Crush Bars
Ingredients
For the Crust and Topping
- 1.25 cups butter, melted
- 1.5 cups quick oats Rolled oats can be used in a pinch.
- 2.25 cups all-purpose flour If using self-rising, reduce slightly.
- 1.5 cups brown sugar Light brown is standard; dark adds a deeper flavor.
For the Caramel Filling
- 0.25 cups butter
- 1 cup brown sugar
- 0.25 cups milk Any regular dairy or a rich plant milk can be used.
- 2 teaspoons vanilla extract
- 2 tablespoons flour
Instructions
Preparation
- Preheat your oven to 350°F (175°C) and line a 9 by 13 inch metal baking pan with parchment paper.
- In a mixing bowl, combine melted butter, quick oats, 2.25 cups flour, and 1.5 cups brown sugar until sandy.
- Press half of the mixture into the bottom of the prepared pan to form the crust.
Cooking
- For the caramel, melt 0.25 cups butter with 1 cup brown sugar in a saucepan.
- Stir in the milk and vanilla, then simmer until the mixture is glossy and thickened, about 5 minutes.
- Pour caramel over the crust and sprinkle the remaining oat mixture on top. Gently press it down.
- Bake in the preheated oven until the edges are golden, about 25-30 minutes. Let cool before slicing with a warm knife for cleaner cuts.
Notes


From My Kitchen to Your Inbox
Simple, reliable recipes, thoughtful cooking tips, and a little Sunday-supper inspiration, delivered straight to you. No noise, just good food and the stories that make it meaningful.
Comments closed